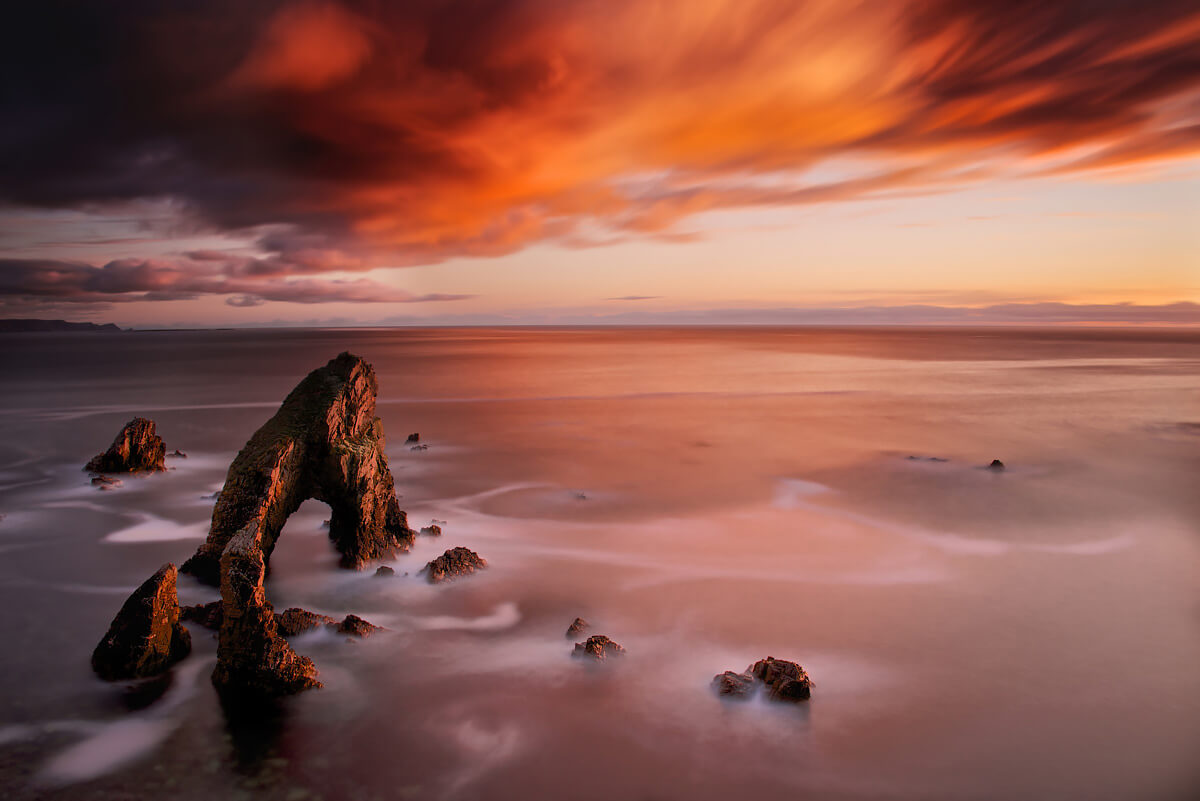
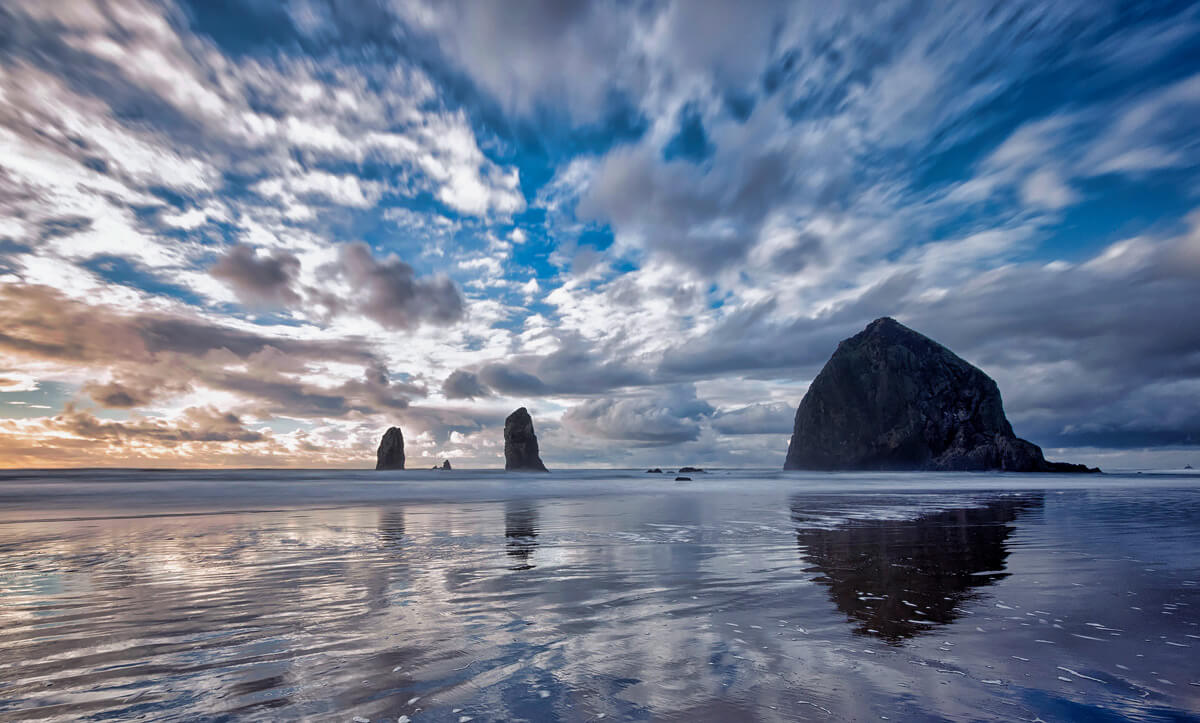
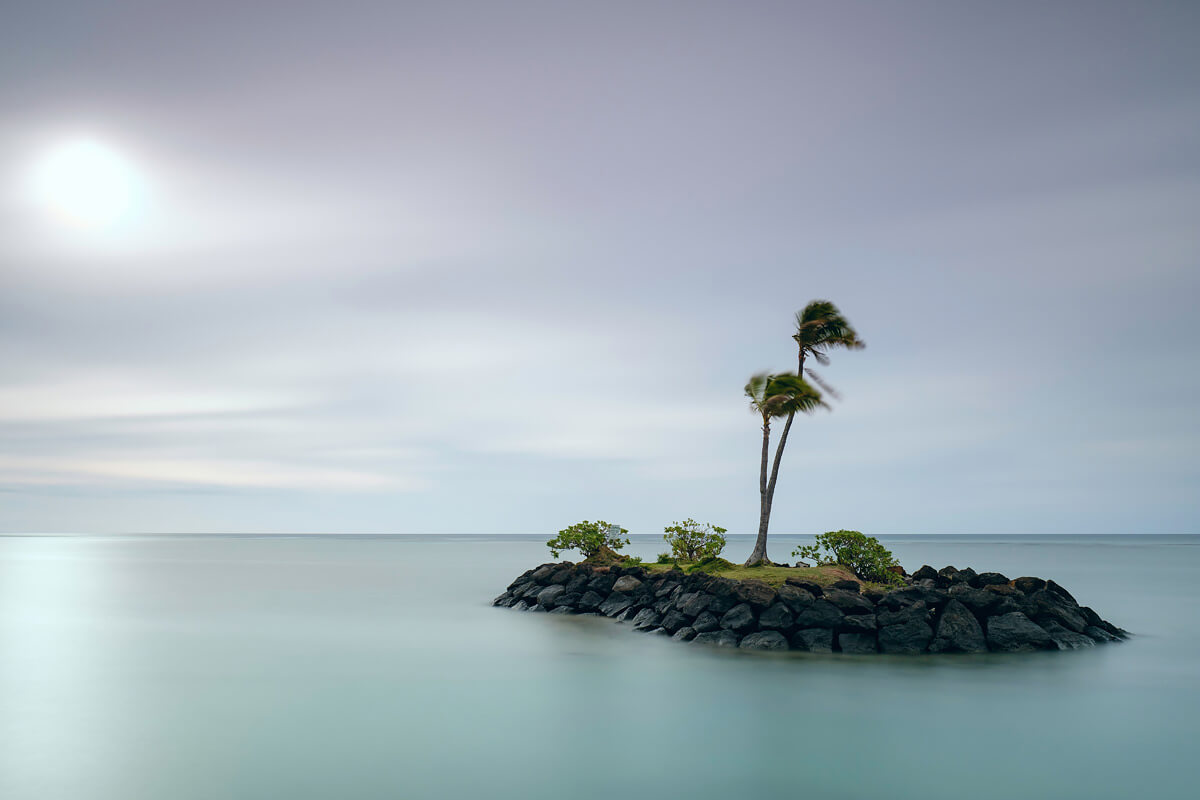
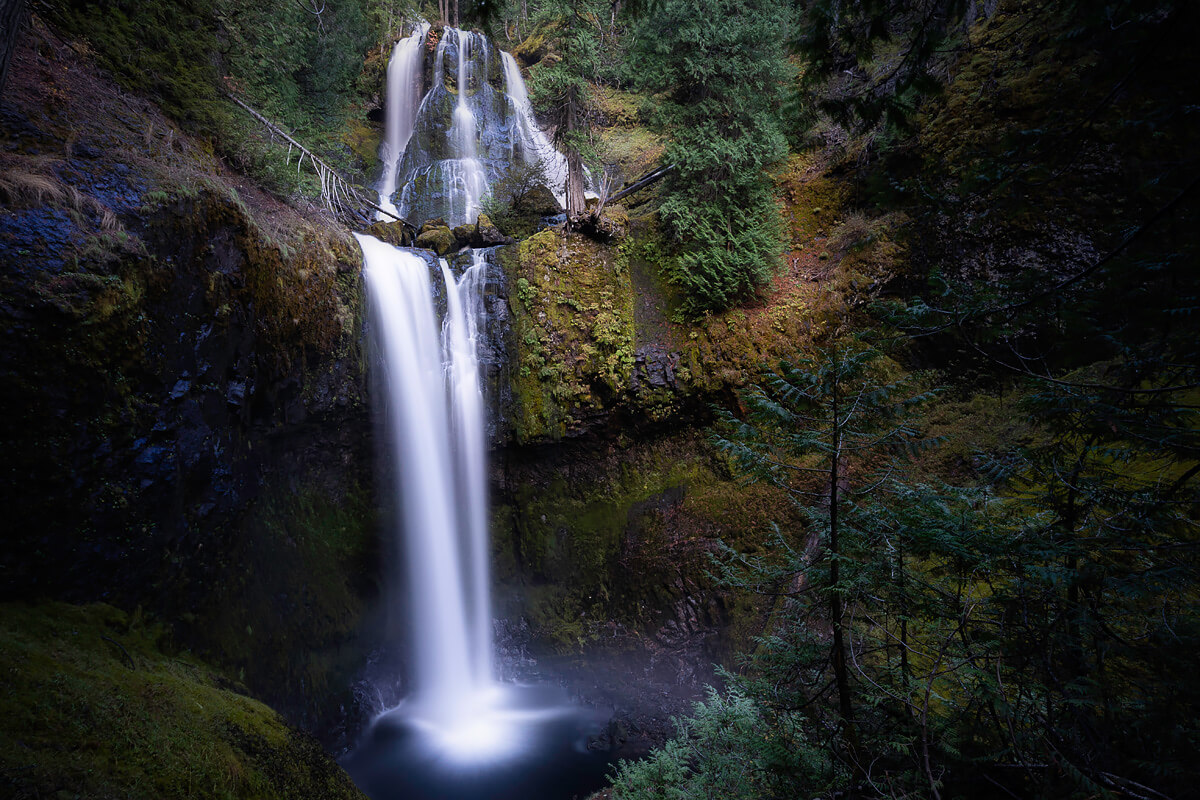
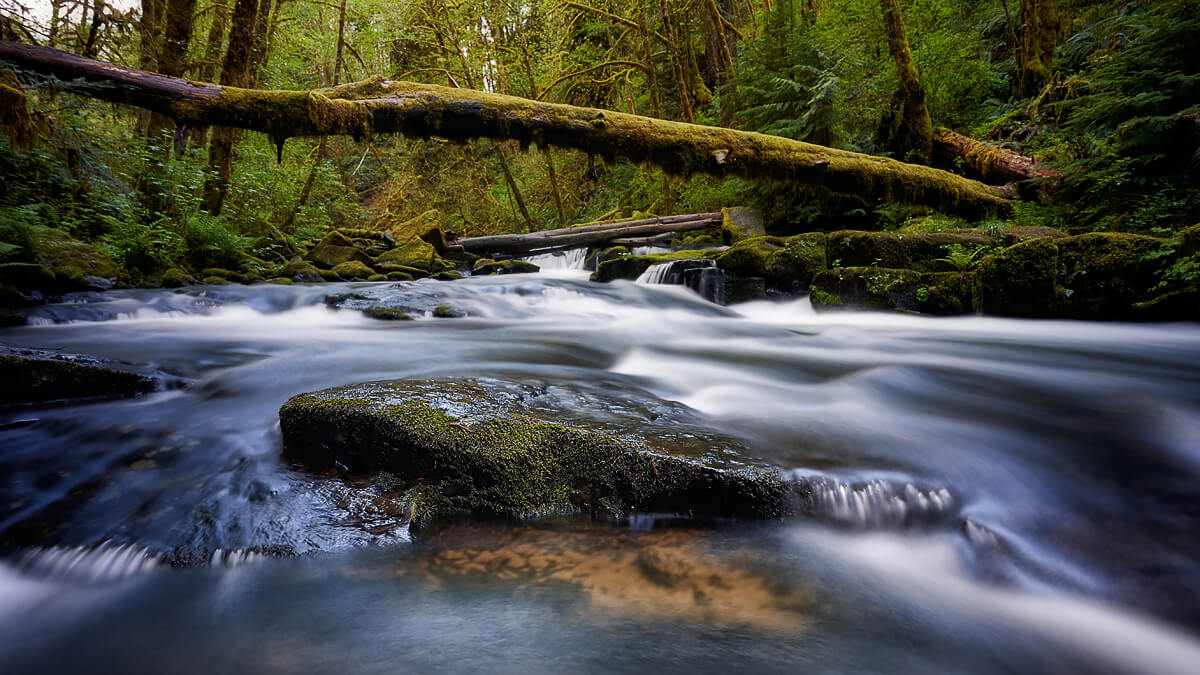
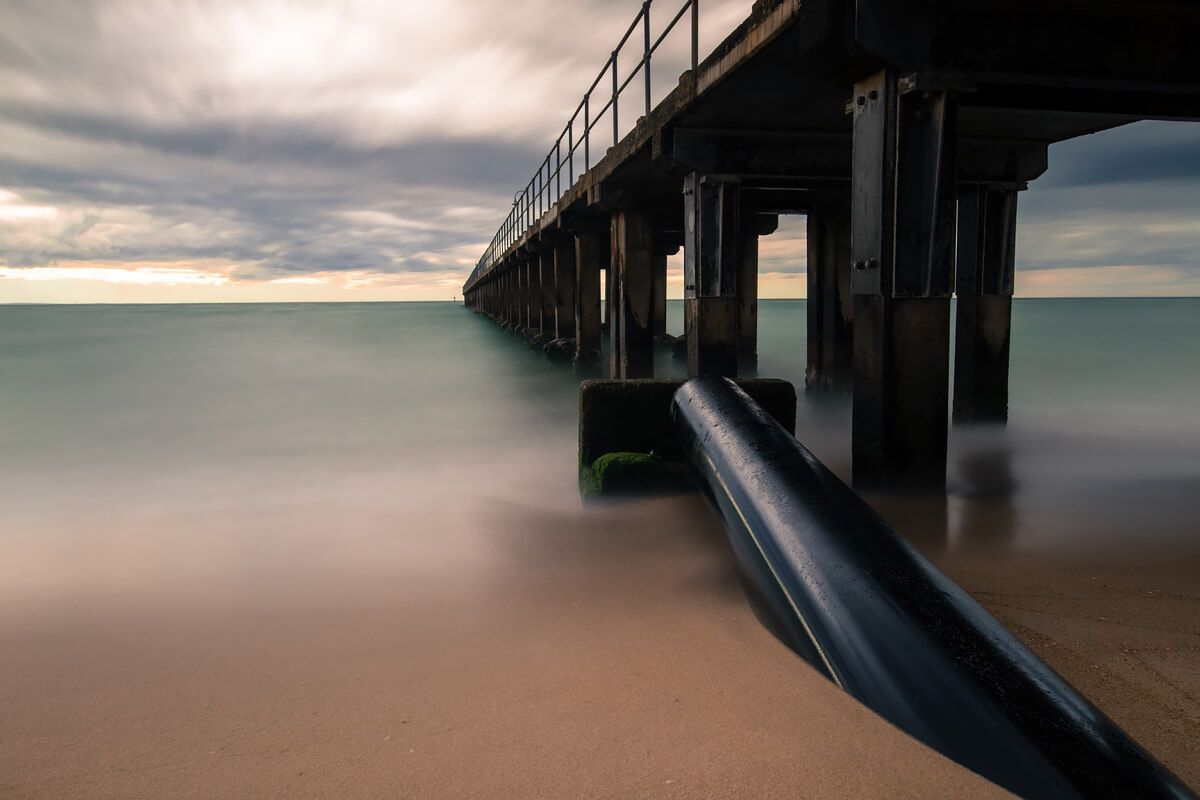
Ever feel inspired by the almost other-worldly photos that some of the top landscape photographers post on sites like
Shotkit? The ones full of misty waves, glassy water, streaking clouds, and often a sense of mystery?
Ever wish you could do the same?
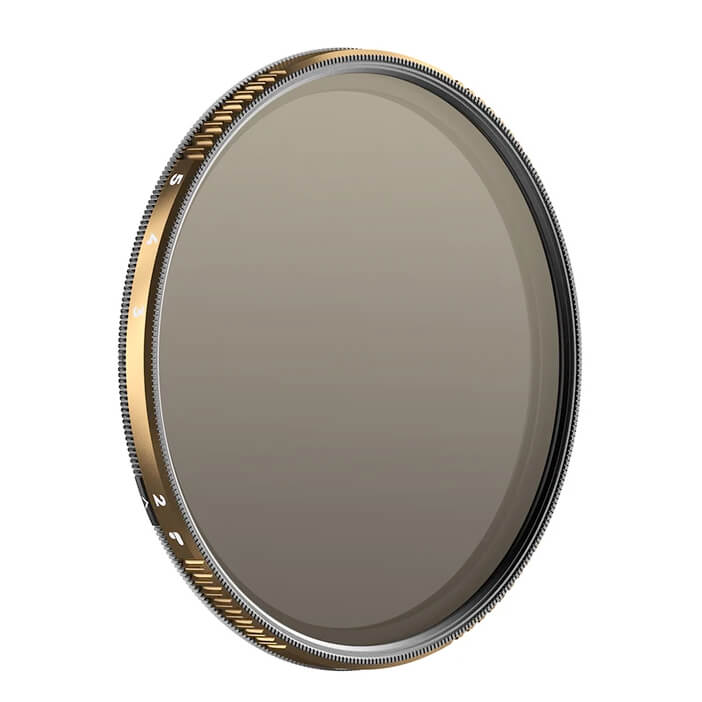
If so, you're in luck. The technique is not difficult to master and the only gear you'll need is a DSLR or mirrorless camera, a tripod, a remote shutter (if your camera doesn't do Bulb mode on it's own), and the secret sauce: a 10-stop Neutral Density (ND) filter.
Why a 10-Stop Neutral Density Filter?
Those streaking clouds and glassy water - they're created through long exposure. At night or in low-light scenes, you can get long exposures with your camera alone. With brighter scenes, however, it's often difficult to get a long exposure without over-exposing your image. That's where a 10-Stop ND filter comes in.
ND filters block light from entering the lens, allowing you to get a longer exposure than you would otherwise. The darker the filter (or more stops of light they block out), the longer of an exposure you'll be able to get. There are a number of different strengths of ND filter, but the 10-stop filter is one of the strongest and often yields much more striking results.
With a 10-stop ND filter, your water will be silkier, your waves mistier, and the clouds will streak farther. Together, these can create a stunning, dreamy effect that you can achieve in-camera.
Choosing Your Subject
Seascapes and other water-rich scenes are especially nice to capture with a 10-Stop ND filter, but don't limit yourself to just that. In general, this type of long exposure works best on any scene that has some element in motion, either water, clouds, or land elements like grass or leaves. Use your creativity and if something in your scene has movement, try the filter on it.
As is true with just about any landscape, the ambient light is usually best during the golden hour - the hour just after sunrise or just before sunset. That's a great place to start. Just be careful about including the sun in the frame, as it can easily become overexposed.
Focusing with a DSLR
One of the more challenging things about working with a 10-Stop ND filter - at least if you're shooting with a DSLR - is that once you put the filter on, there won't be enough light coming through the lens to focus.
To focus using a DSLR you'll need to lock in the focus before attaching the filter. If you focus manually, this will be pretty easy. If you tend to rely on your camera's autofocus, though, you'll need to do a bit of a work-around. Here's one way to do it:
Step 1: Set up your camera and tripod and compose your shot. (Ideally you'll also have a remote shutter release.)
Step 2: In aperture priority mode, dial in the ISO and aperture you'd like to shoot at. If you don't have a remote shutter release, set your timer to either 2- or 10-minute delay, depending on what's available on your camera. (The longer the delay, the less likelihood you'll introduce camera shake from pressing your shutter button.)
Step 3: Press your shutter button halfway down to set your focus. Once you've got the focus and exposure settings dialed in (ignoring shutter speed for now), switch to manual mode. This prevents the autofocus from re-engaging and changing your focus.
Step 4: For best results, remove any other filters you already have attached to your lens (i.e. a polarizing filter or UV filter). Attach the ND filter.
Step 5: Now it's time to set the exposure. In "Bulb" mode, start out by increasing your shutter speed by 10 stops. If your camera's set to 1/3 stop increments, this will be 30 clicks.
Depending on the quality of the filter, you might have to add a bit more exposure time or take away some. It'll take a bit of trial and error to find your filter's sweet spot, but it should be close to 10 stops.
Step 6: Because light can leak in through the viewfinder, block your viewfinder by holding a piece of black card or cloth in front of it. (In a pinch you can use your hand - just be careful not to touch the camera while you do this or you might introduce camera shake.)
Step 7: Now take your first shot. Again, be super careful not to touch the camera while it's processing. If it's a particularly long exposure, it might feel like it's taking forever, but have patience! Wait until it's fully done.
Step 8: Take a look at your photo in the viewfinder and make sure the exposure was correct. You might have to take a few different shots to get the exact exposure you're looking for.
Pro-Tip: Check your camera's histogram when you first set the autofocus and then again after you've taken the shot. If they're the same, you hit the right exposure for the filter. Of course, you might still want to use your creative license and adjust from there, but you've found the right starting point if the histograms are the same.
Mirrorless Cameras
One of the many cool things about shooting with a mirrorless camera is that even with a 10-stop ND filter, you're still likely to get enough light coming through the lens to focus.
You won't need to go through all of the steps above. Simply attach the filter, adjust the exposure in manual mode until your exposure meter lies in the center, and take your shot.
You may still want to make a few adjustments (like under-exposing if you're shooting a sunset), but in general, what you see on the back LCD is what you get.
Choosing the Right Filter
Like camera lenses, you pretty much get what you pay for when buying ND filters. Screw-on filters in the $10-$80 range will often introduce both vignetting and a color cast. Both of these are fixable in post-processing - especially if you're shooting in Raw - but will add more time to your work flow.
Cheaper filters can also reduce the sharpness of your images. This isn't always so easily fixable in post, so be sure to read the reviews before investing in one. I wouldn't recommend anything below $60.
Another thing to keep in mind is that if you have an expensive camera, buying a cheap filter will impact your image quality - sometimes tremendously. If you're shooting with a nicer camera, then definitely go for a higher quality filter.
That's pretty much all there is to it. All that's left is for you to go out, find those streaming clouds and crashing waves, and let your creativity shine. Good luck! 