Many beginner photographers think that product photography is a bit dull. But if you do it right, it can be quite exciting.
You can get really creative when shooting still life photos, but you need to know how to make them shine. This guide will teach you how to do it.
We'll start with the basics before moving on to some essential tips that every beginner needs to know. They'll help you become a pro before you know it. Let's dive in.
Utilize a Tripod
You need a tripod to make sure no product photograph ever turns out blurry. Stabilizing your camera with this simple tool will help you always maintain consistency and focus, and satisfy all your clients.
Most tripods are very affordable, so you don't have to worry about spending a fortune.
But if you're on a really tight budget, you can place your camera on a stack of books, for instance. After all, the key is to make sure the camera doesn't move.
Use Proper Lighting
Lighting is the most important thing in photography in general. And for product photography, perfect light is a no-brainer.
Hundreds, thousands, or even millions of consumers will see the photos you shoot, so the products must be clearly visible.
Now, you can use either natural light or set up studio lights.
To get the right natural light, place your product near a window.
For the best studio lighting, make sure there's a light aiming at every side of the product. That way, no shadows will get in your way of making a perfect shot.
Just be sure to aim the sidelights directly at the background, instead of pointing them at the product itself. You don't want the product blending in with the walls.
Also, to avoid overexposing, use a diffuser when shooting in a studio.
Set Up the Right Backdrop
Setting up the background is also crucial for the overall quality of your every product photograph. Here's how to make it right.
Product-Only Photographs
Do you know how in most product photographs, it seems like the product is floating on air? It's not because of some expert photo editing. It's all in the right backdrop.
Using a white backdrop is usually the norm, but anything else can work for the right product. It's only crucial not to have any clutter. You don't want anything else to pull the attention away from the product.
You need a sweep-stand, but if your budget doesn't allow for it, you can easily make your own.
You can create a chair-mounted sweep for smaller products by simply clipping craft paper on top of it. For more significant products, you can tape a long roll of craft paper on the wall and let it fall to the floor naturally. Goodbye, horizontal lines!
But you don't need to shoot product-only photos in a studio exclusively. You can also spruce things up a bit by taking your camera outside.
Using nature as a background, such as grass or sand on a beach, can be very powerful for some products.
Involving pets and kids can also be fantastic, as they stand out and create feelings of fun and comfort. Speaking of support, shooting photos in a home setting can also help sell products.
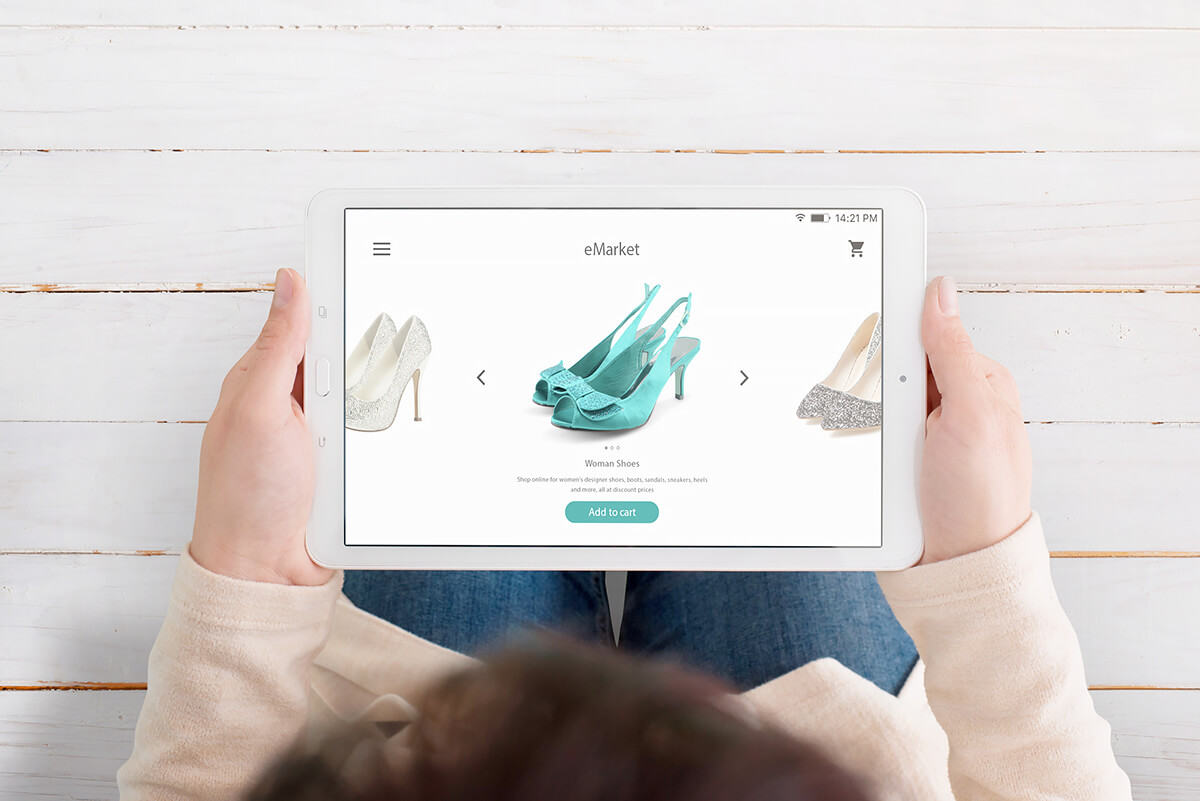
In-Context Photographs
In-context or lifestyle photographs can work wonders for almost every product. They showcase how people can use a particular item in real life, which is what often inspires purchases.
That's because they tell a story and help people form emotional connections with products.
This is where you can let your creativity shine. But it's crucial to make these shots outside, in natural light, in an ideal ambiance for the right product.
Use Normal Lenses
Making product photographs is not the time to experiment with wide-angle and telephoto lenses. The last thing you want is to misinterpret the proportions of the products.
Therefore, stick with regular or standard lenses. They will help you capture photos that showcase products almost like you usually see them. You can't even tell the difference.
So, get a standard lens with a focal length of anywhere between 40 mm and 58 mm. The focal length of 50 mm is the most common, but anywhere between these other two dimensions is standard.
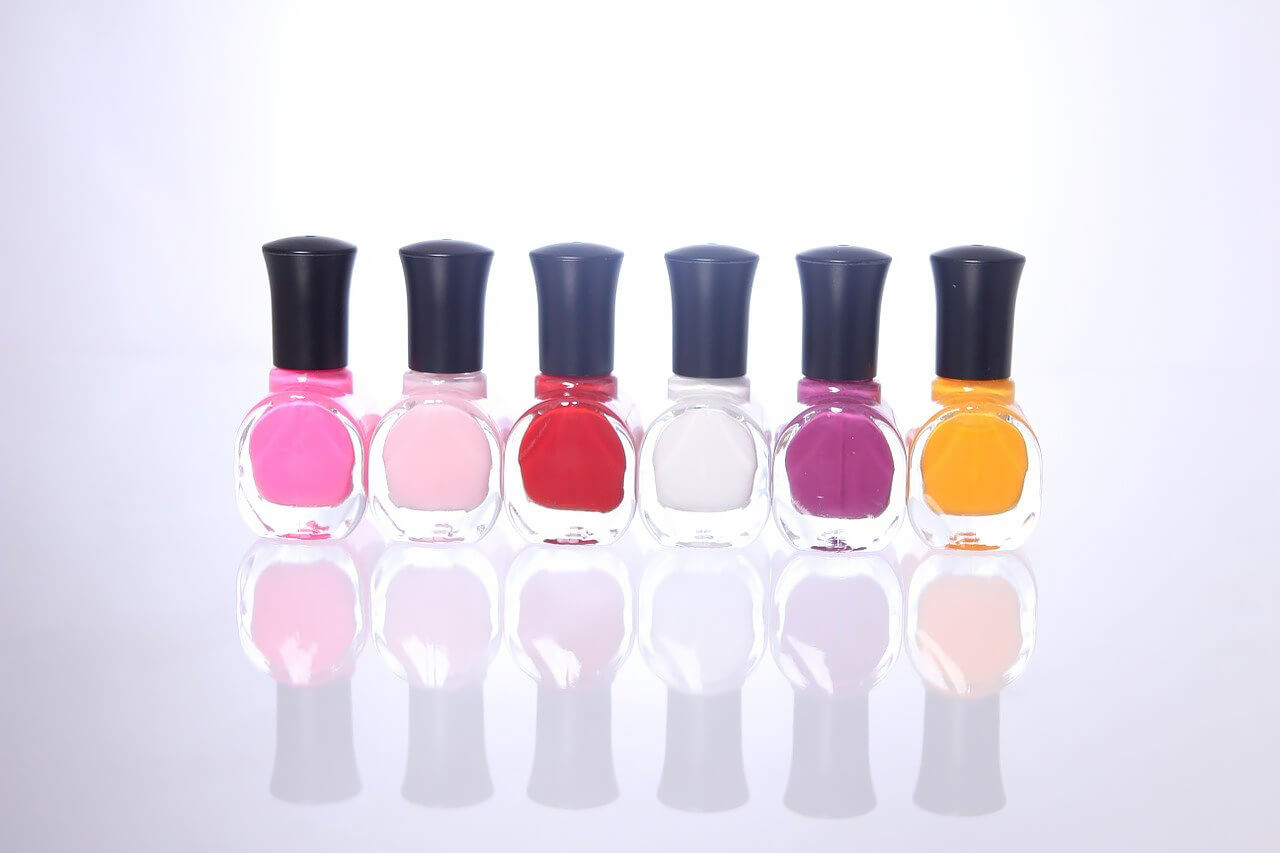
Always Represent True Colors
Just like you shouldn't distort the real proportions of a product, you also must represent its true colors. Failing to do so would cause a lot of trouble for your clients, especially if you're shooting photos of clothes.
Imagine ordering a shirt only because of its color and getting a completely different color. This actually happens more than you know, and it leads to tons of returns and lost money for retailers.
So, make sure the colors stay as they are. You can tone them a bit to ensure they perfectly match a real-life product, but that's it.
You should also view your photos on different devices after editing them to make sure the colors are consistent.
Play with Color Psychology
Even if you're just starting out, you may be aware of color psychology. It's the study of colors and different hues and how they affect human emotions and behavior.
Companies have been using this study for decades to create the right branding for their vision.
Of course, you should play with colors only in lifestyle or in-context shots. You don't want distractions in product-only photos.
So, by mixing specific colors in the background, you can tell a more compelling story. You can compel viewers to go and buy those products right away.
Learn about each color and the emotions they inspire in people before engaging in lifestyle product photography.
Make Final Touch-Ups with Photo Editing Software
Even if you think your every product photograph looks excellent, you should still retouch them a bit.
With photo editing software, you'll make them look absolutely brilliant. You'll give them a polished and flawless look that will make every product pop.
You can remove shadows, tone the colors, altogether remove backgrounds, and much more. You can also remove mannequins and busts if you used them to capture clothes and jewelry better.
You can make a bunch of corrections but remember not to go overboard. Products need to look natural as if they were standing right in front of you.
There's a wealth of photo editing tools you can use. Find a device with a user-friendly interface that you'll quickly get the hang of.
But if you're short on time or don't have excellent editing skills, you can outsource your photo editing.
Smart Photo Editors offer professional photo editing services at competitive prices. They have a highly trained and experienced team of experts who can make your photos truly remarkable.
And there you have it. These product photography tips will help you create fantastic content, so go ahead and start using them right now. Set your talent and creativity free and start telling enchanting stories that will mesmerize the world.