While scrolling through social media, you probably noticed that everyone (literally) posts multiple pictures of the food they prepared at home or ordered in the restaurant. You most likely did so at least once too. And while for some it might seem like wasting memory on your phone, for some food photography is essential.
Those include restaurants, bakeries, food trucks, etc. After all, it's the pictures of the goods that convince people to eat or buy there. Food photography can either make or break these businesses, so, naturally, they want it to be perfect. As a photographer, you need to make sure that your photos meet the expectations your clients have.
You don't need to be a professional
photographer or have years of experience to get good pictures of food. You can do that just by using your smartphone's camera and some
lightroom presets. How can you do that? Keep reading, and you'll find out.
Plating
Plating is a word used by professional chefs, and it's nothing more than the arrangement of food on the plate. And even though it might seem like it's not important, it's actually the opposite. A study revealed that people are more likely to rate the food as tastier if they like how it is presented on the plate. When creating the arrangement, you need to:
-
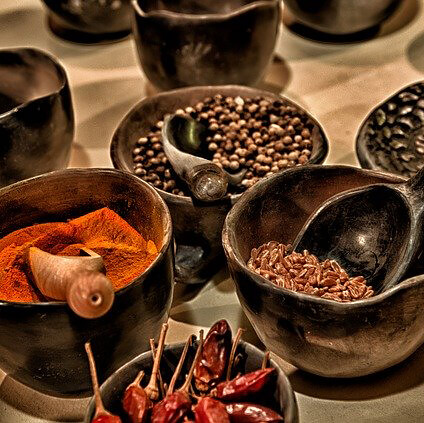
Choose the right surface - no matter what kind of food you are photographing, you should choose a surface that will go best with its aesthetic. For instance, a wooden cutting board will look very good with foods like burgers and fries, while a classic white plate looks terrific with colorful food, as it gives it a more vibrant pop
-
Start in the middle - start with the middle, and then work your way out, so that you will keep the symmetry of the food on the plate
-
Think like an artist - you don't have to stick only to the food in your arrangement, you can also use spoons, forks, knives, etc., you can even use a sauce to create some kind of pattern - get creative
Now that you know how to arrange your food let's move to the next step - lighting.
Lighting
Good lighting is a crucial element in every field of photography. In the case of food, it helps in emphasizing the color balance and textures of what is being photographed. If you want to get best lighting for the photos you should:
-
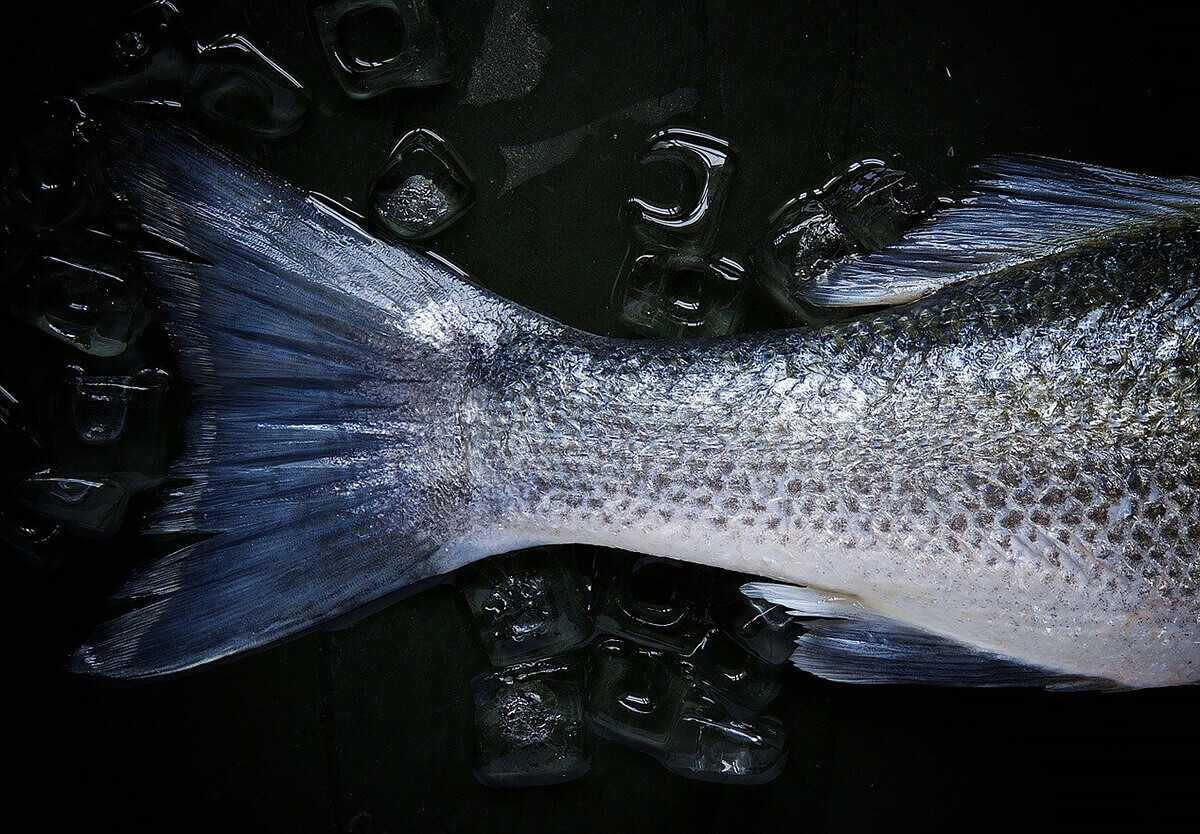
Light from the side - it can help you in bringing out bright spots of the textures of the food and the shadows; very helpful when photographing, for instance, burgers or sandwiches
-
Watch for harsh shadows- harsh shadows might make the food look unappealing, so if you notice them on your photos, try to adjust the angle of your camera or light; they can also be avoided by using softer lighting
-
Avoid lighting from the front - it can create the impression that the food photographed is tasteless, as it tends to create harsh bright spots on the photo
Composition
So by now, you have your food arranged on the plate, and the lightning is ready. The next step is framing your food image. When doing it, you want to keep in mind:
-
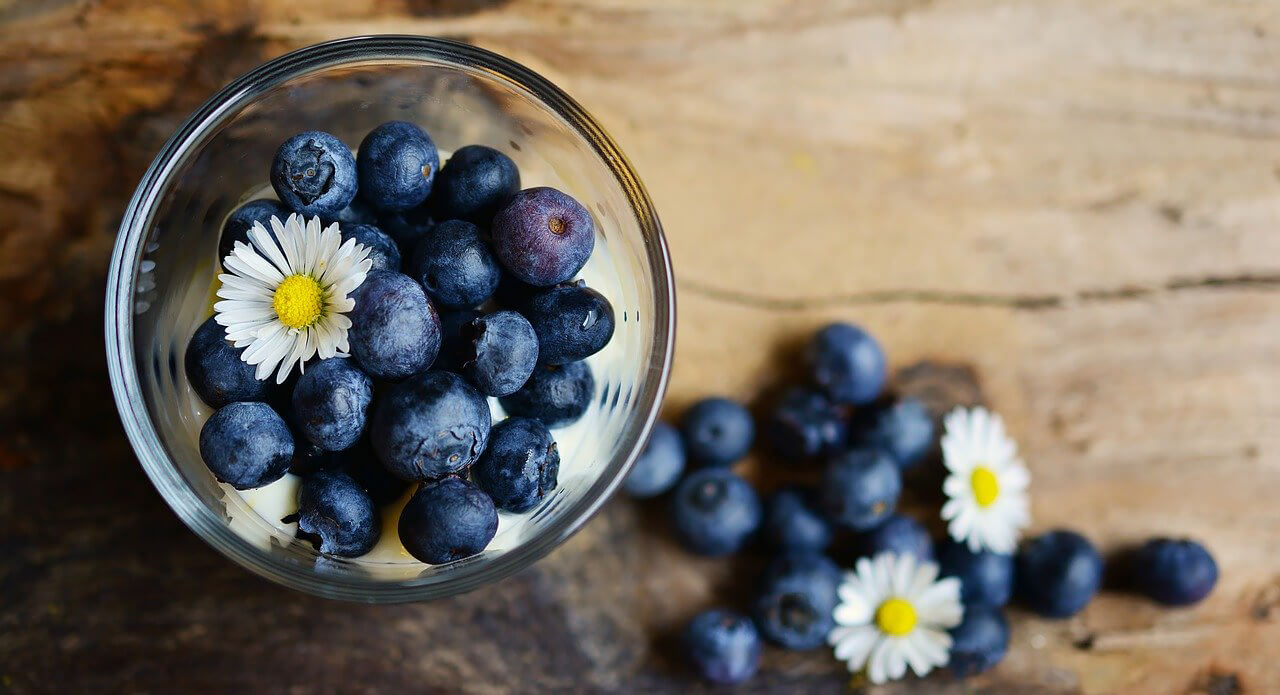
Angles - think about what part of the food you want to emphasize; depending on what type of food you are taking pictures of, you should use a different angle - for instance, for things like sandwiches side shot works the best, while for things like salads overhead shot works better; avoid photographing from a front-facing downward angle
-
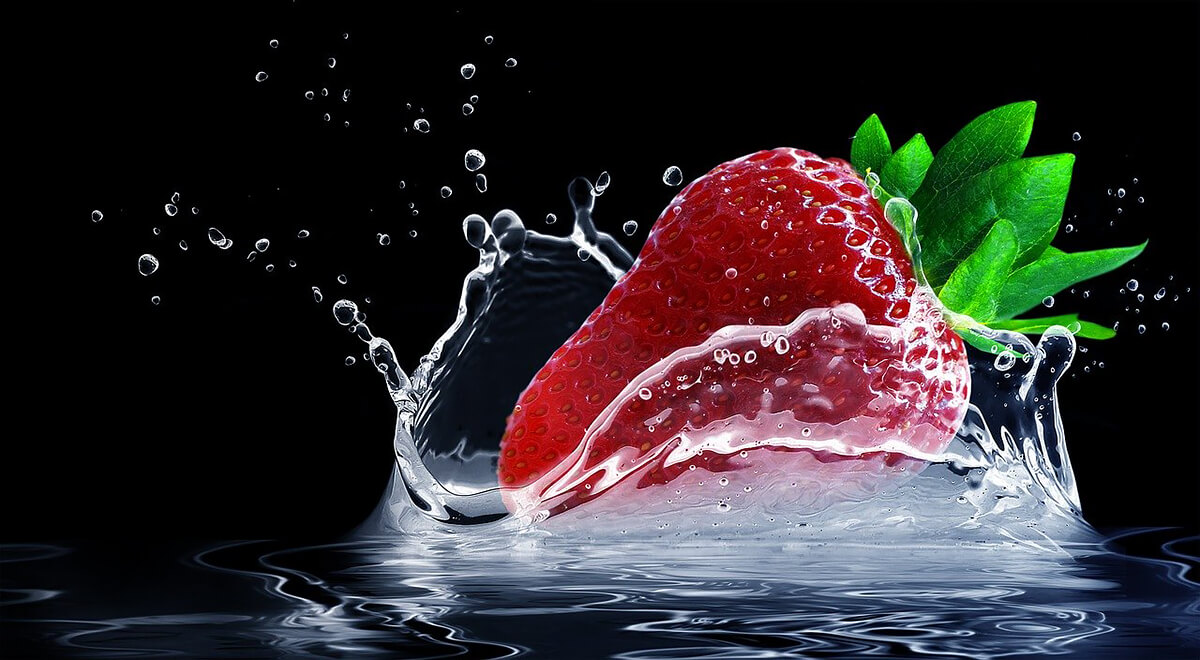
Colour - try complementing the food with interesting patterns and textures in complementary colors and keep it balanced; try to keep the whole composition in warm colors and avoid using harsh, cool colors such as blue and purple
-
Selective focus and depth of field - try taking photos with focused, close-up shot and less focused background; playing with the depth of field of your photos can help in adding emphasis to more textured foods, e.g., pasta
Editing
You already have your photos, and now it's time for the last step - editing. Of course, you don't want to edit them too much, as then it might make the food on them look fake. However, if you use it in moderation, it will help in giving your photos a professional look. Some of the things that you might want to do include:
-
Sharpen the image - it will give more definition to the edges
-
Fix white balance - depending on how you adjust it, fixing white balance can help in making your image more ‘cool' or ‘warm'; warmer white usually makes the food on the plate look more appealing
-
Adjust brightness/contrast - increasing the contrast of the picture will give it more detail and bring out the diversity of colors
-
Adjust saturation - saturation is nothing more but the intensity of the colors in your photo; just like with white balance, warmer colors tend to make the food look more appetizing
Final Thoughts
These tips might help you in taking better photos of your food, but they shouldn't stop you from experimenting, as you might discover something that works better for you. No matter if you'll use those tips or not really, the only thing that is left to say at this point is Good Luck.